Unlock Your Lip Blush Potential
Let’s be honest, tattooing lips can be a major challenge for any artist!
Unlike other areas of facial skin such as brows or eyeliner, the lip tissue is actually an active mucous membrane. The surface is less than paper thin and the texture is typically soft, bouncy, and wrinkled. Lips are also blood-filled, ready to leak lymphatic fluid/plasma, and often lubricated with saliva - which can all interfere with a smooth tattooing process. The lips are also highly sensitive, making it very difficult for the clients to endure the process of tattooing.
For ideal results, artists must proceed with caution and learn how to handle this complex tissue.
Mistakes are common unless you understand both what to do and what not to do.

Here are the most common mistakes and how to avoid them:
1. A poor stretch will affect your ability to implant pigment
If the lips are not stretched flat and held tautly, your needle will bounce on the surface like it’s jumping off a trampoline, thus causing undue trauma instead of pigment deposit. This is most evident when you tattoo then wipe, and are left with no trace of pigment deposit in the skin. It doesn’t matter how long you work, the pigment will not properly and uniformly implant until your stretch is perfected.
Before the needle even enters the skin, it must be completely smooth and devoid of any gathering of the lip tissue. Keep in mind that thin, mature, or dehydrated lips may require even more stretching than younger skin, since they may have less collagen. Ensure you stretch extra well so that the skin is taut.
 Stretching techniques by Ramona Krusinskiene, courtesy of The Collective course: Airbrushed Aquarelle
Keep these handy tips in mind to further improve your stretching technique:
- Focus on stretching the area flat enough so your needle can enter the skin between 80-100 degrees for minimal trauma. Your machine and needle should be relatively perpendicular to the surface of your stretched lip section.
- Improve the efficiency of your stretch by using lip guards, lip rolls, or gauze in the mouth. Instead of stretching and pressing the lips against your client’s teeth, the mouthguard or gauze will offer support and stretch out the lip tissue to “prop it up” and flatten the lip out. You will save so much effort in your stretching hand since the lip guard/ gauze is doing a lot of the stretching job for you!
- This approach significantly eases the burden on your stretching hand. Cotton rolls or lip guards become especially useful when working on clients with uneven teeth, as these barriers help to even out the underlying surface you are stretching on.
Jasmine Diebelius demonstrates how to execute this technique
- Stretch the lips between two fingers in small 1-3 cm stretches to control the lip tissue. It’s a lot easier to make a small area taut vs. a larger area. This includes horizontal and vertical stretches while holding and rolling the lips. Reduce your stretching and hold size and watch the color deposit a lot easier!
- Adjust your finger positioning and move your isolated stretch as you enter each new section. Oftentimes, people forget to isolate and move.
- If you can’t stretch the lip flat, gently pinch the lip instead. Pinching the lip tissue will create the flat surface tension you need to deposit into the skin without bouncing. The “squeeze and pinch” stretch is done by gently pinching the skin together into a roll to create tension in the skin. This technique will “bunch” the skin together tautly. It is mainly used when tattooing the lip outline where a tight stretch is difficult to achieve.
Jasmine Diebelius demonstrates the pinching technique while using a 5U CF to outline
2. Inconsistent working steps followed by inconsistent hand movements
If your overall technique is inconsistent, you will see an inconsistent result like a blotchy implantation of color.
Maybe you find yourself jumping around to different sections of the lips while working, trying your best to fill in various areas of undersaturation as they catch your eye. Perhaps you are shifting your hand speed as you approach different anatomical areas, or applying more pressure in sections that are more challenging to implant. You may even start with a clean outline only to later lose track of it, changing up your technique mid-procedure from a defined lip to a borderless lip.
Any of these inconsistencies in your working steps or movements can lead to uneven pigment distribution, irregular color saturation, and an overall lack of harmony in your finished result.
To remedy this, try to follow these consistent working steps, in order:
- Outline the upper lip followed by the lower lip in two passes, starting from the left to the right side.
- Then, fill the upper lip followed by the lower lip in 2-3 consistent passes, making sure to only work 1-2 cm sections at a time.
- Lastly, do one final pass to fill in any weak or missing spots.

Diagram by Ramona Krusinskiene, courtesy of The Collective course: Airbrushed Aquarelle
Your needle movements should be steady and consistent, with your sections overlapping each other by 50%. Work from one end of the lip to the other, being careful not to jump around. Your pendulum movements should settle to a continuous and monotonous pace. You SHOULD NOT vary your speed and movements from area to area, section to section. Your hand should maintain a steady and constant back-and-forth movement.
Your pressure also needs to be light and uniform throughout. Remember, we are not digging or pushing, but only sweeping the very tip of the needle taper across the skin. You should just barely be able to feel the vibration from your machine in your stretching fingers. To practice this delicate pressure, try on an inflated balloon! If the balloon pops, you are too heavy-handed and would be causing damage to the lip tissue.
It is normal to pause to switch needles or change movements during transitions. However, working in an unplanned manner with rushed and erratic movements will result in blotchy outcomes. You will be able to clearly see evidence of a lack of consistent movements once the lips are healed. Don’t forget to take your time and breathe!
Ramona Krusinskiene demonstrates a smooth, steady hand speed, courtesy of The Collective course: Airbrushed Aquarelle
3. Causing excessive trauma to the lips
Excessive swelling and tissue trauma happen when you work over the same areas again and again, due to lack of pigment deposit.
To avoid this trauma, the needle must enter at a consistent angle over lips that are taut so the needle can make a smooth, direct entry in and out of the skin. The more efficiently you get the pigment into the skin, the less tissue trauma is caused, and the better the outcome.
To further minimize trauma, be sure to hone your needle and stretching techniques so you can maximize your pigment deposit per pass.
Keep in mind that swelling is normal and simply unavoidable for some clients. Some people will just naturally swell more than others! One technique to help reduce swelling is to complete an entire section of the lips with multiple passes in one area before moving on to the next section, without returning to that first area.

Ramona Krusinskiene demonstrates shading, courtesy of The Collective course: Airbrushed Aquarelle
Excessive trauma can also lead to excessive bleeding. If you see significant bleeding, make sure to reassess your stretch and your technique. In the event of excessive fluid (ie, saliva, blood), you can try holding tissue or gauze on in your stretching hand to absorb the fluids and prevent slipping of your fingertips while you’re stretching.
You can also use a cotton round or tissue in your stretching hand to prevent “slip” in your fingers and provide a way to quickly clean up the slip/fluids as you work.
- Place the cotton or tissue directly under your stretching fingers as you move along the area
- Constantly change out the cotton or tissue so you are always working with a dry one and immediately discard it once it’s wet

Jasmine Diebelius demonstrates this anti-slip technique
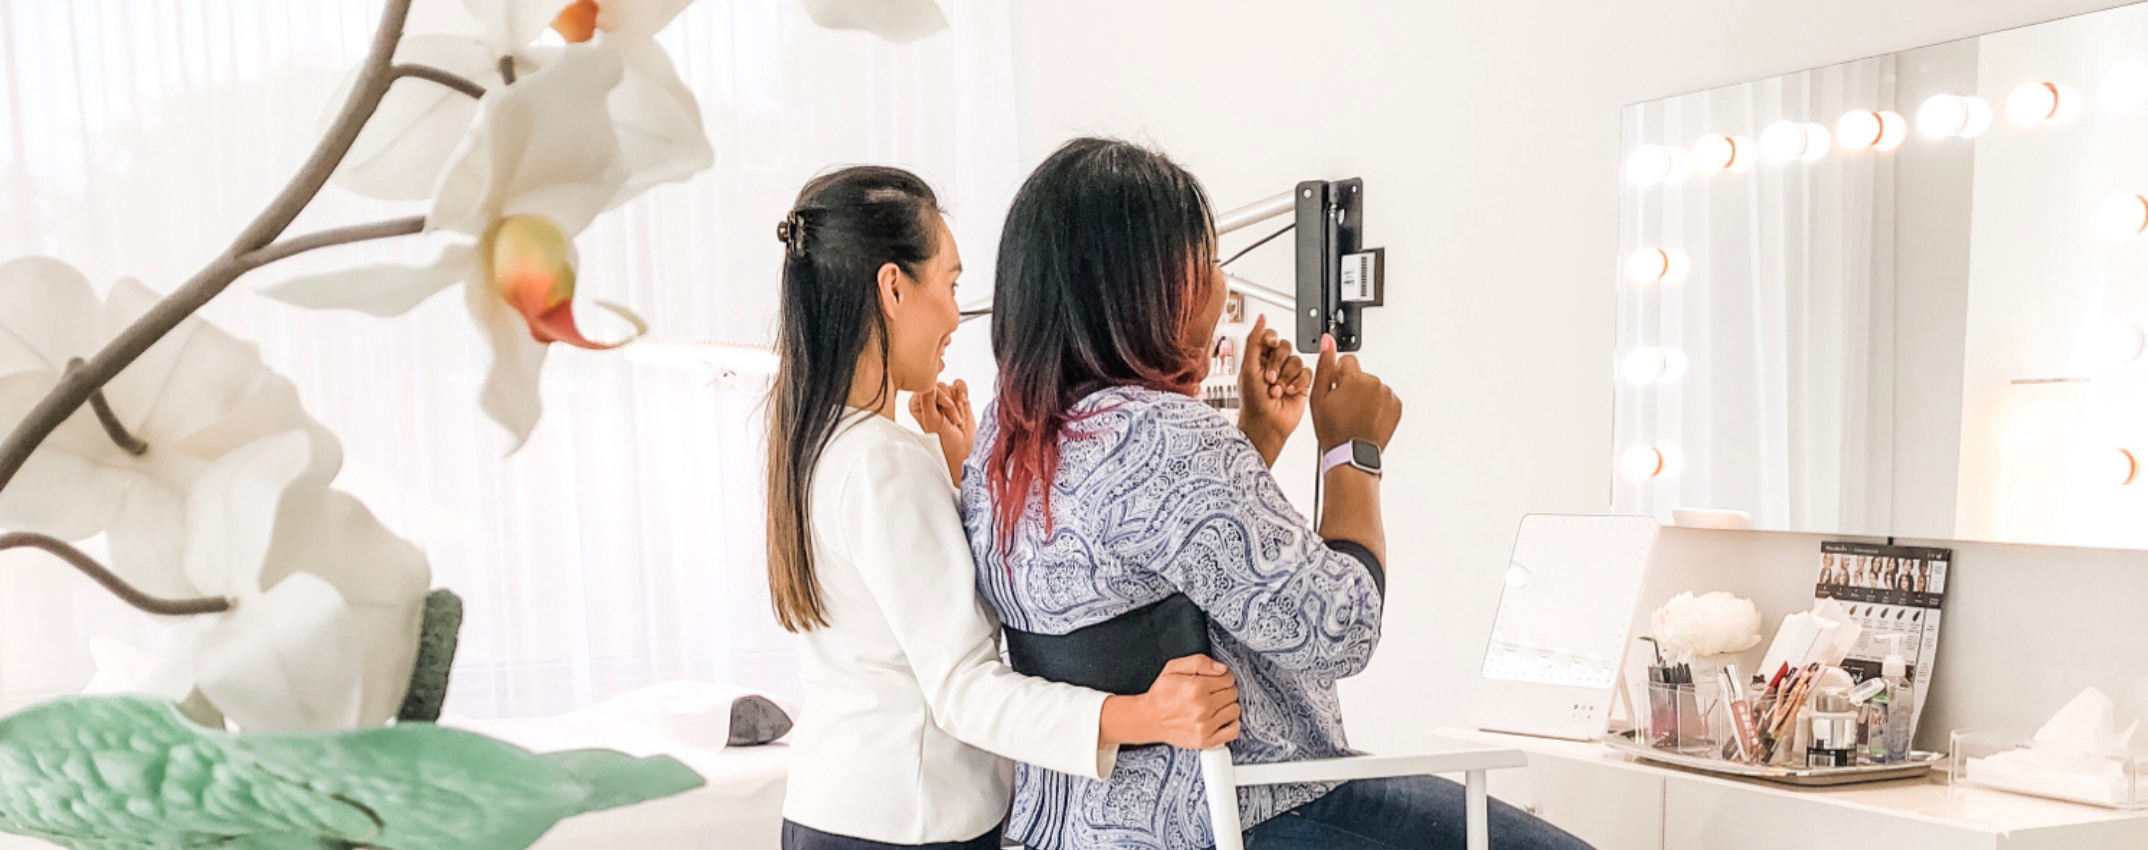
Online courses are a fantastic way to refresh your knowledge and introduce new tips and techniques. However, when learning lips, in-person training is absolutely necessary. To shorten your learning curve, be sure to get 1 on 1, real-life instruction, and feedback from a seasoned artist who has a track record of great results. The trainer will be able to guide you through proper technique, stretches, body position, and more.
4. Poor pain management leads to a poor client experience and subpar results
Pain control is one of the most stressful things for artists to deal with because if the client cannot tolerate the pain and discomfort of the procedure, it is hard for the artist to focus and complete their job.
Everyone will experience some level of discomfort, but the pain should be mild and short-lived (not more than 3 hours). Setting expectations for comfort and controlling the pain during the process makes the procedure more manageable for both artist and client.
Here are some tips to keep your client as comfortable as possible:
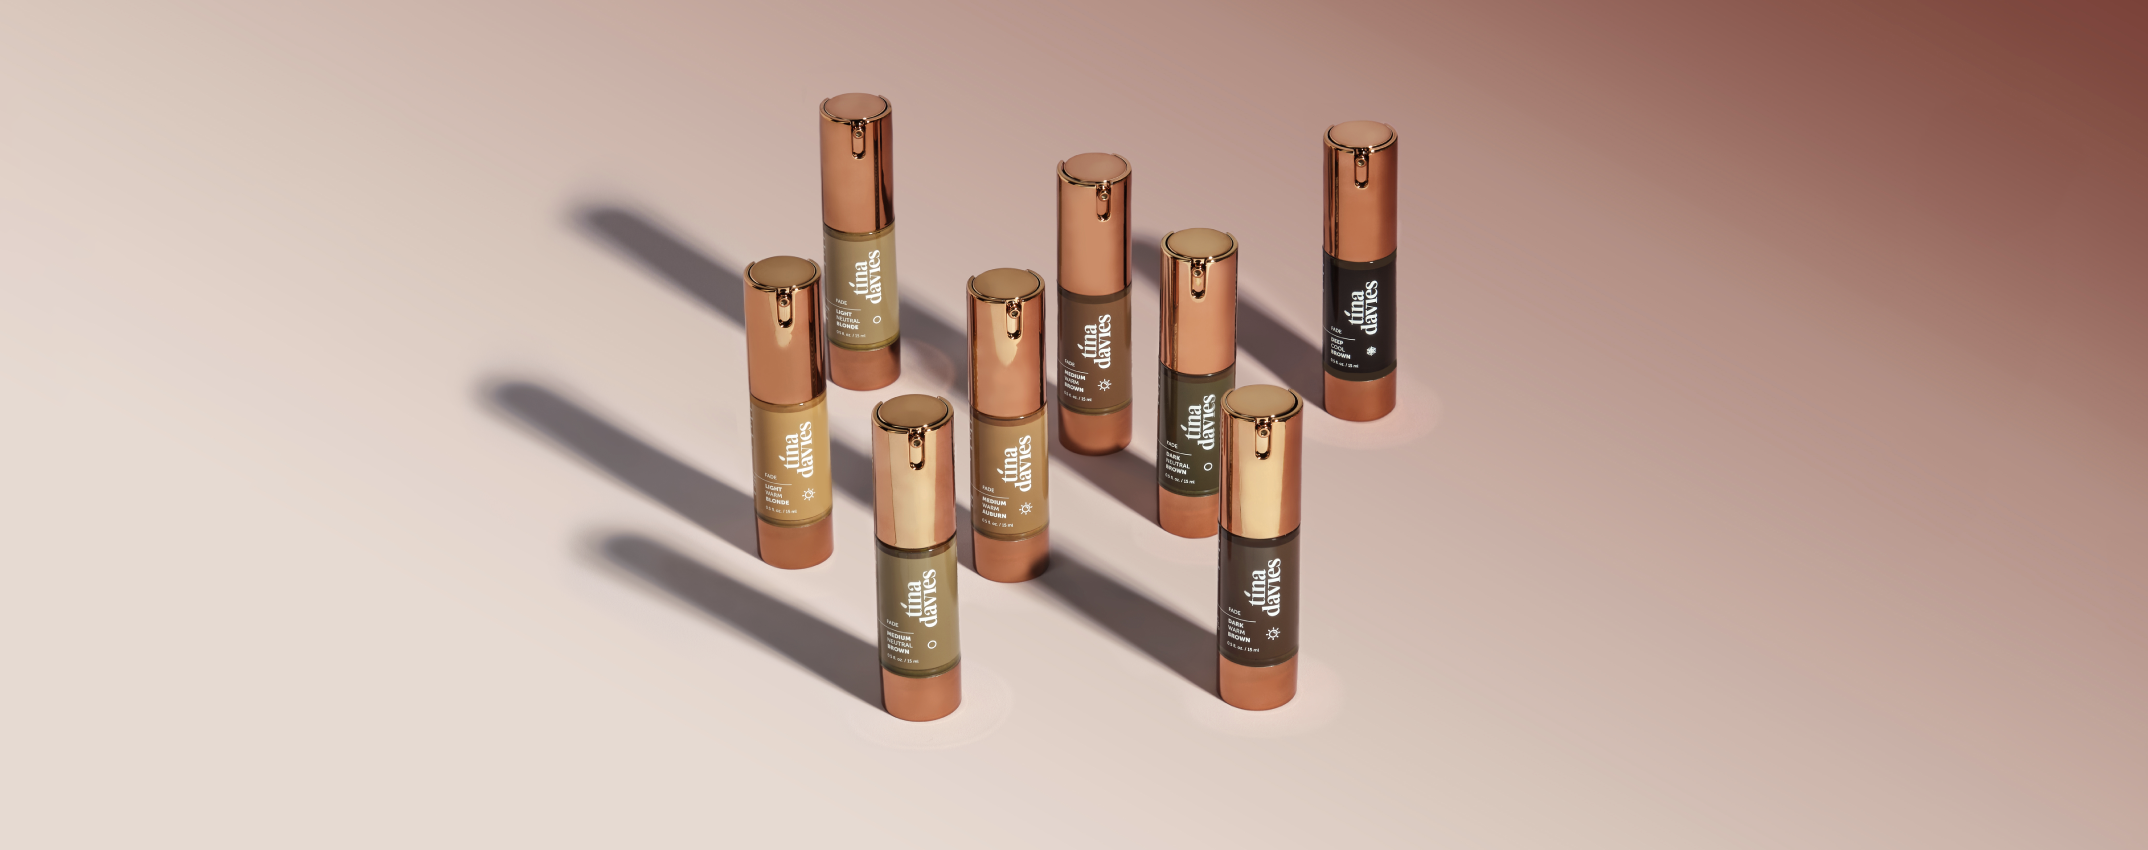
- Apply a primary, topical anesthetic such as Zensa with 5% lidocaine for 20 minutes before the procedure. This can be done before or after you complete the sketch. Occlude with a barrier/cling film to prevent it from drying out.
- In addition, apply a secondary numbing gel/liquid with epinephrine, like Tag #45 or Ultra Duration, 1-2 times throughout the procedure to maintain pain control and reduce bleeding.
- *Do not overuse the secondary product, as epinephrine constricts blood flow and can cause the lips to feel “hardened’ and stiff which makes it hard to tattoo.
- Alternatively, you can opt for a 2-in-1 maximum strength numbing product with lidocaine and phenylephrine like IceCream™ Topical Anesthetic, which is effective as both a primary and secondary numbing solution. IceCream™ can be applied as a pre-numb on closed skin and re-applied as needed throughout the procedure without any skin hardening.

|
|
CLICK TO SHOP NUMBING PRODUCTS
- Keep a cold compress handy to soothe the lips and bring down swelling. Make sure to wrap it completely in barrier/cling film, and then with a soft tissue or clean paper towel. Apply the compress for 3-5 minutes during breaks to soothe your client and keep them calm. They will really appreciate this. You can even do this after the procedure so your client walks out with little to no swelling and decreased stress.
After the procedure, you can remove the wrappings, sanitize the compress with alcohol, and send it home with them in their aftercare bag to reuse on and off throughout that first day of healing.
For a disposable option, just fill a small ziplock bag with water and 2-3 ice cubes to make a chilled baggie. Use and toss!

Don’t forget to set realistic expectations in terms of shape and color, and prepare your client for the healing process by showing them plenty of before, healing, and after photos ahead of their procedure.

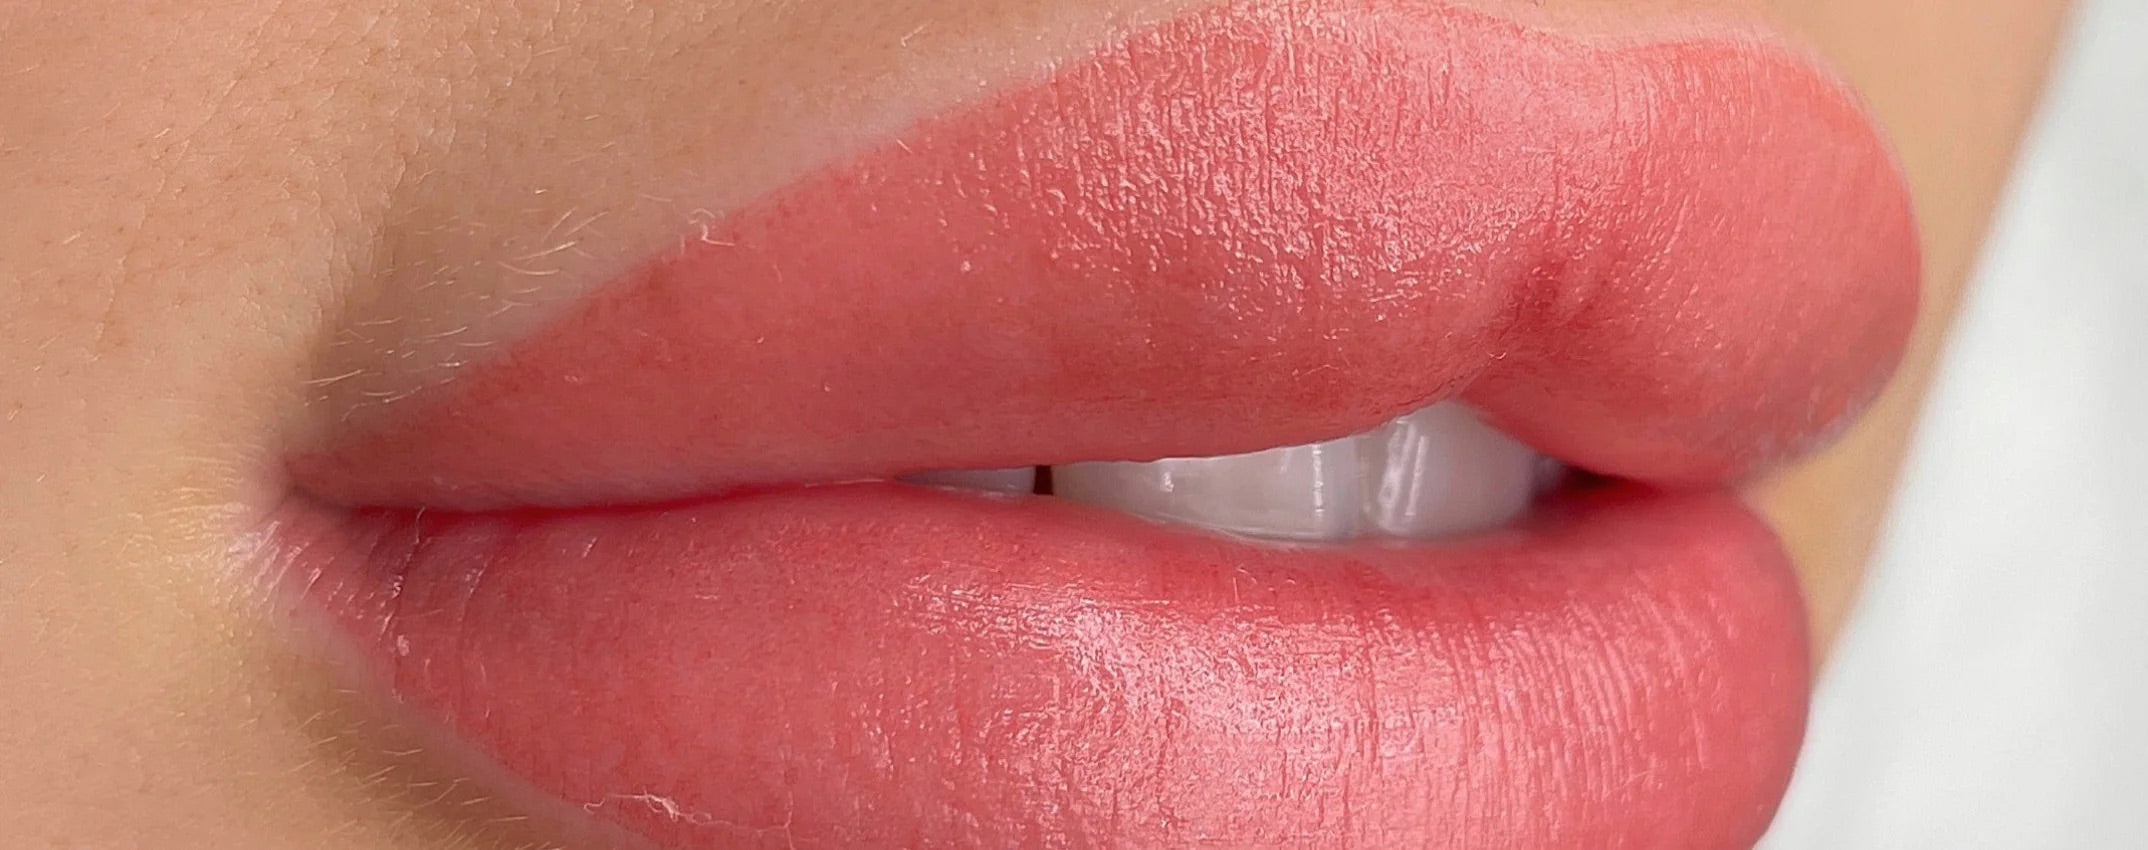
Post lip blush healing process by Jasmine Diebelius
Check out some of our favorite healed lip transformations below! 
Healed lips by Jasmine Diebelius created with Lust Pink Coral & Envy Cinnamon with PIXL 3RL 0.25mm
Shop lip pigments HERE / Shop PIXL Needle Cartridges HERE

Before & healed lips by Ramona Krusinskiene created with Envy Nude, Dusty Pink, & Wine with PIXL 0.25mm 1RL LT
Shop lip pigments HERE / Shop PIXL Needle Cartridges HERE

Before & healed lips by Jasmine Diebelius created with Envy Dusty Pink, Cinnamon, & Nude with PIXL 0.25mm 1RL LT & 3RL
Shop lip pigments HERE / Shop PIXL Needle Cartridges HERE

Before, after, & healed lips by Ramona Krusinskiene created with Envy Dusty Pink, Lust Flame, & Envy Wine with PIXL 0.25mm 1RL LT & 3RL
Shop lip pigments HERE / Shop PIXL Needle Cartridges HERE

Before, after, & healed lips by Ramona Krusinskiene created with Lust Soft Red & Peach with PIXL 0.25mm 1RL LT & 3RL
Shop lip pigments HERE / Shop PIXL Needle Cartridges HERE

Before & healed neutralization after 1 and 2 sessions by Jasmine Diebelius created with Lust Flame
*Lip neutralization is an advanced technique that requires specialized training, recommended for artists with at least 1 year of lip experience.
Shop lip pigments HERE / Shop PIXL Needle Cartridges HERE

SHOP ALL TINA DAVIES LIP PIGMENT SINGLES & COLLECTIONS HERE

SHOP PIXL NEEDLE CARTRIDGES HERE
Ready to take a deeper dive into the art of lip blush and master this technique yourself? Learn more through our popular online courses!

Ramona Krusinskiene teaches the ins and outs of the Airbrushed Aquarelle Lips technique to create a long-lasting kissable lip blush effect that clients love. From pre & post-treatment consultation, machine & needle choice, color theory, hand movements, common mistakes, outline & pigment application, all the way to taking & editing great client photos, this course has it all. Watch hours of 4K footage including a live demonstration shot from multiple angles, day-by-day healing, photo-editing, and practice pad lessons, so you don't miss any steps.
Leave a comment
This site is protected by hCaptcha and the hCaptcha Privacy Policy and Terms of Service apply.