PMU Prep & Aftercare
Small Details Make a BIG Difference
What to do Before & After your Permanent Makeup Procedure
I’ve been performing permanent make-up now for almost 20 years. In this time I’ve completed over 15,000 procedures while experimenting with numerous techniques to help my clients get better results. I have literally tried EVERYTHING.
What I’ve found is that the right pre-care and aftercare can truly make a massive difference in results. Knowing just how important prep and aftercare are, I’ve researched and experimented with many techniques and combinations. I’ve done dry techniques, wet techniques, washing, no washing, I’ve tried various products, creams, ointments… you name it, I’ve tested it.
To help you get the best results possible from your PMU procedure I’ve outlined my lessons learned and provided a formula that will help to ensure you get the best results possible.
The Prep:
If you’ve ever hired a professional painter they will tell you that “it’s all in the prep”. Professional painters know that they get the best results when they spend extra time sanding, filling holes, making sure edges are smooth and applying the right primer. Well, permanent makeup is very similar. You will get much better results when you properly prep. It all starts with a good canvas! The procedure area must be healthy, strong, non-sensitive and non-irritated. Here’s how to get your skin ready for the procedure.
- Do not pick/tweeze/wax/perform electrolysis one week before the procedure
- Do not tan two weeks prior or have sunburned face/skin
- Do not have any type of facial 2 weeks prior to treatment
- Do not work out the day of the procedure.
- Do not have botox 3 weeks prior
- Do not take Fish Oil or Vitamin E one week prior (natural blood thinners)
- Do not wax or tint your eyebrows 3 days before the procedure.
In order to avoid excessive bleeding and poor colour deposit:
- Do not drink alcohol 24 - 48 hours before your tattoo
- Do not consume coffee or any caffeine before your procedure
-
Do not take an aspirin or ibuprofen for pain relief (this thins the blood)
Now that you know what NOT to do, it’s time to share my secret recipe for amazing PMU results! I love a good acronym so here’s one to help you out, just think of A - W - M which stands for Absorb, Wash, Moisturize!
The day of the treatment: Absorb
Gently blot the area with a clean tissue to absorb excess lymph fluid. Do this every 5 minutes for the full day until oozing has stopped. Removing this fluid prevents hardening of the lymph.
Days 1-7: Wash
Wash daily to remove bacteria and dead skin. (Don't worry...THIS DOES NOT REMOVE THE PIGMENT!)
Gently wash your procedure area each morning and night with water and an antibacterial soap like Dial Soap, Cetaphil or Neutrogena. With a very light touch, use your fingertips to gently cleanse the affected area. Rub the area in a smooth motion for 10 seconds and rinse with water ensuring that all soap is rinsed away. To dry, gently pat with a clean tissue. DO NOT use any cleansing products containing acids (glycolic, lactic, or AHA), or any exfoliants.
Days 1-7: Moisturize
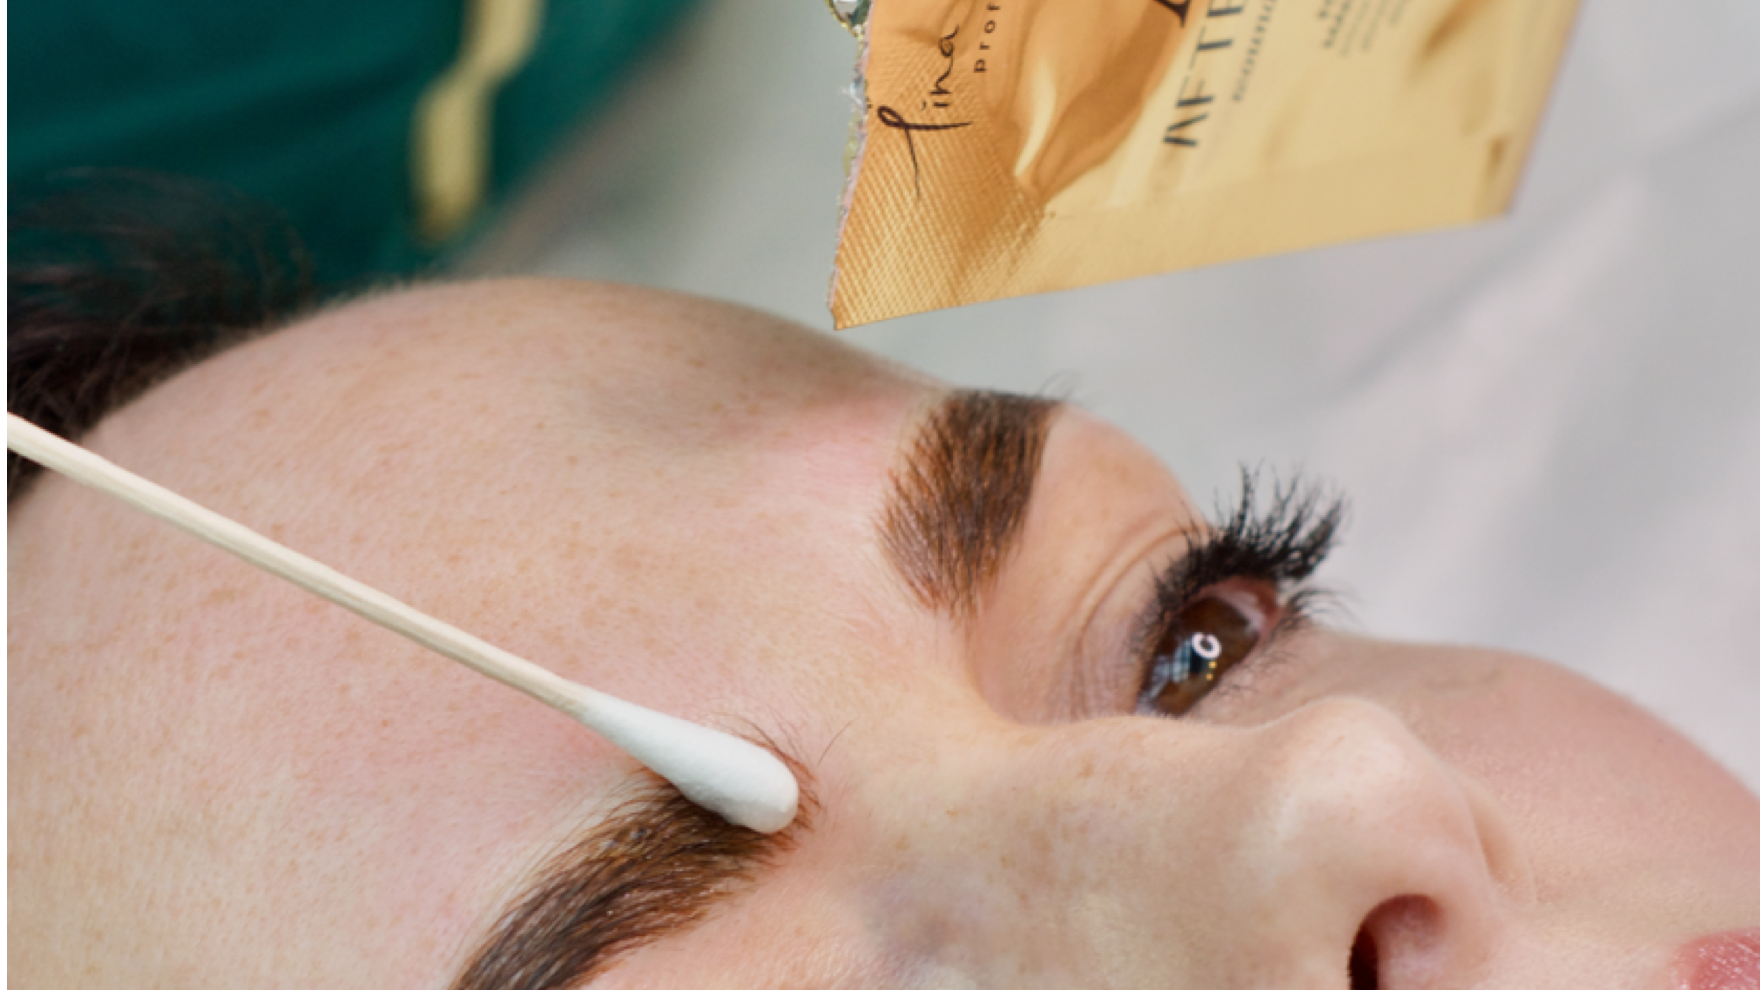
Apply a rice grain amount of Tina Davies Aftercare ointment with a cotton swab and spread it across the treated area. Be sure not to over-apply as this will suffocate your skin and delay healing. The ointment should be barely noticeable on the skin. Never put the ointment on a wet or damp tattoo.
✨ DID YOU KNOW? Tina Davies Aftercare can be used anywhere on the body including eyebrows, eyes, lips, areola, scar tissue, etc. The directions for use are the exact same for all skin types.

You've got to protect your art! Prevent infection and accelerate healing with this soothing antimicrobial formula.

AWM should have you covered, but here are some extra tips to help with a smooth and easy recovery:
Important Reminders
- Use a fresh pillowcase
- Let any scabbing or dry skin naturally exfoliate away. Picking can cause scarring or loss of colour
- No facials, botox, chemical treatments or microdermabrasion for 4 weeks
- Avoid hot, sweaty exercise for one week
- Avoid direct sun exposure or tanning for 4 weeks after the procedure. Wear a hat when outdoors.
- Avoid heavy sweating and long hot showers for the first 10 days.
- Avoid sleeping on your face for the first 10 days
- Avoid swimming, lakes, hot tubs for the first 10 days
- Avoid topical makeup including sunscreen on the area
- DO NOT rub, pick or scratch the treated area.
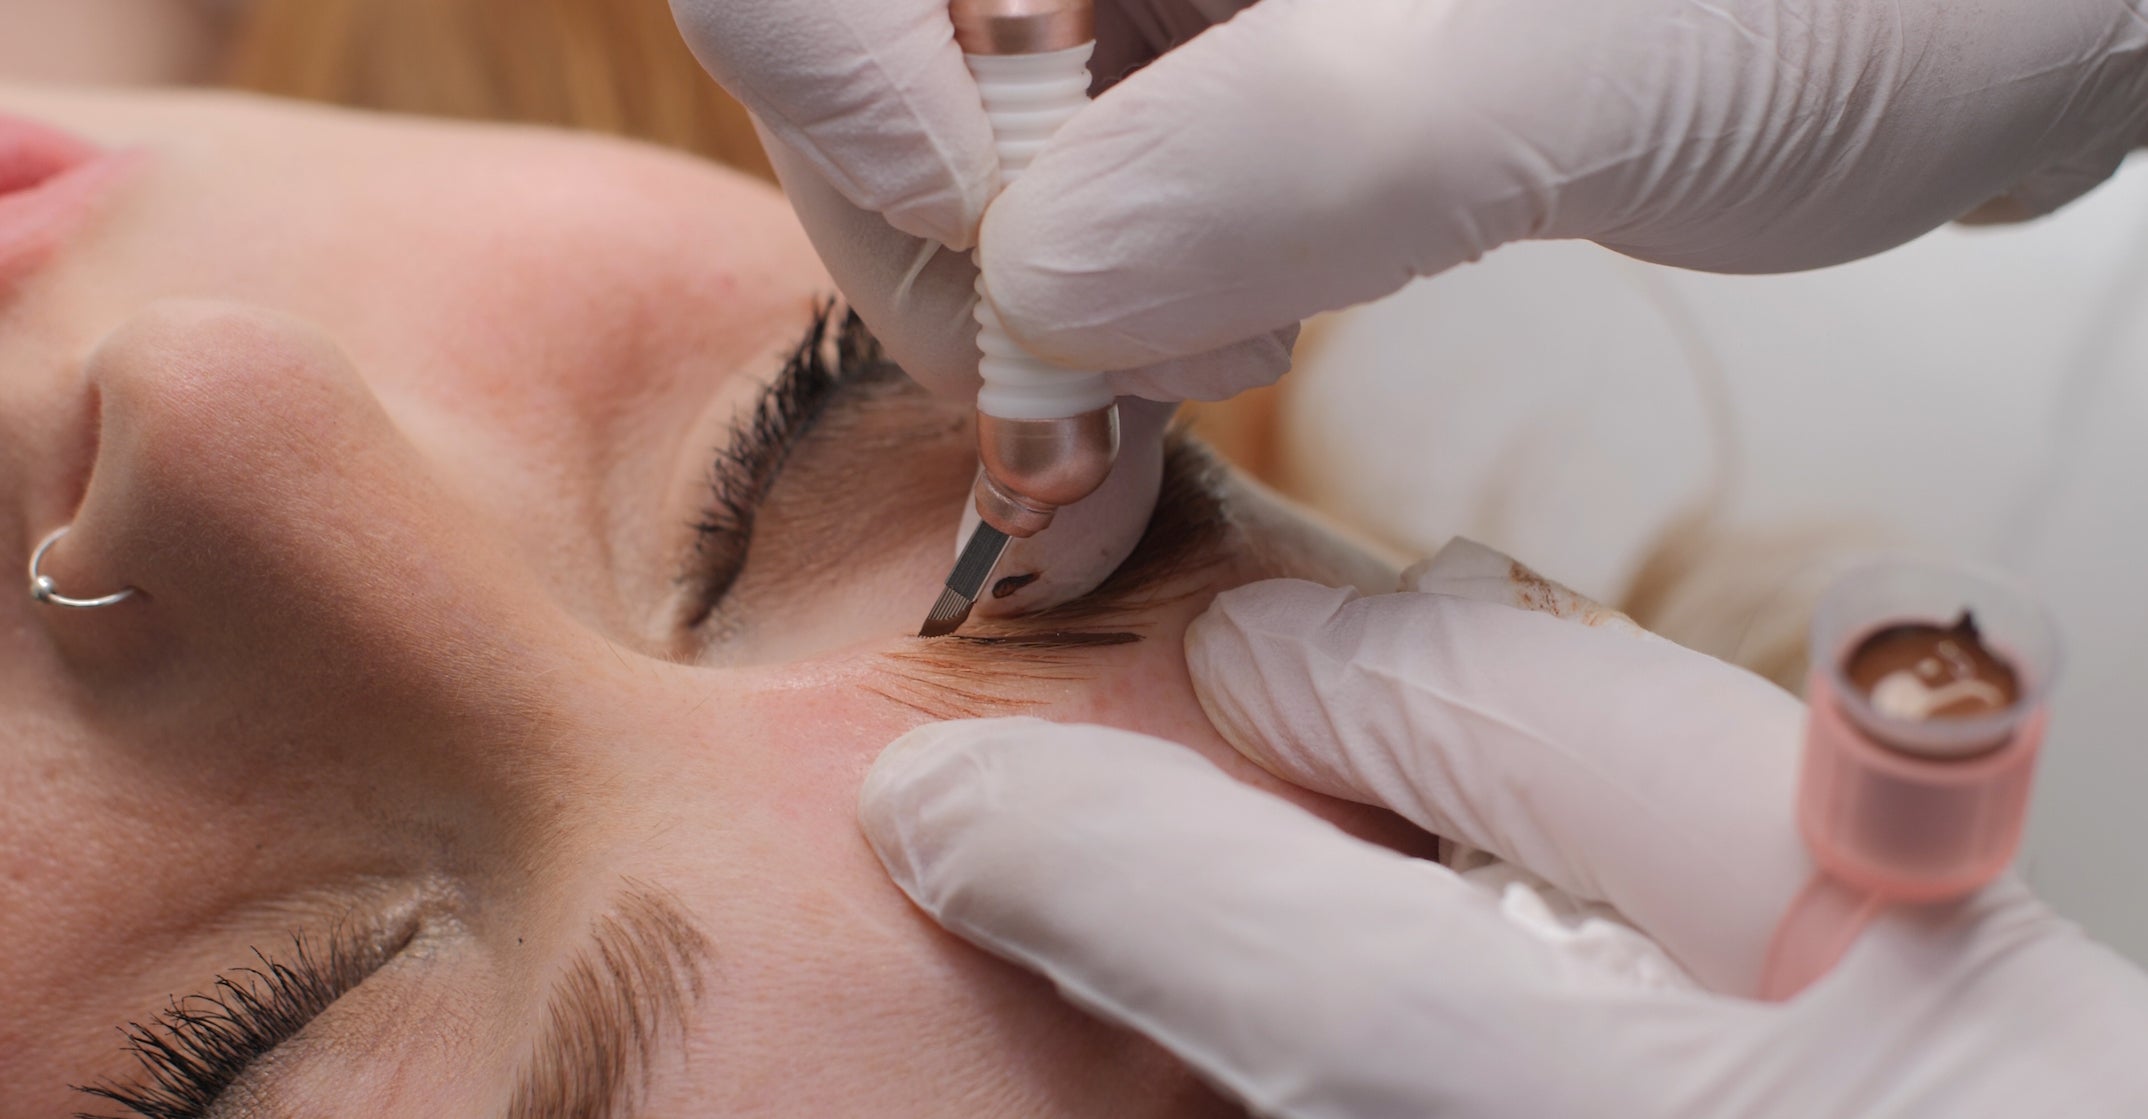
Remember, with the proper prep and aftercare routine you will have much better results with your microblading procedure. Don’t forget your new favourite acronym: AWM - Absorb, Wash, Moisturize!
Important note about showering:
Limit your showers to 5 minutes so you do not create too much steam. Keep your face/procedure area out of the water while you wash your body, then, at the end of your shower, wash your hair. Your face, or procedure area, should only be getting wet at the very last end of the shower. Avoid excessive rinsing and hot water on the treated area.
👉🏻 For more tips and helpful videos please visit my site at uk.tinadavies.com or my YouTube Channel

Leave a comment
This site is protected by hCaptcha and the hCaptcha Privacy Policy and Terms of Service apply.