Article: What is 'blade & shade'?

What is 'blade & shade'?
For many artists, the concept of "shading" during a microblading procedure is very new, and brings up a lot of questions.
What are the benefits? How is it done? What colours are used?
Let's start with the basics. What IS shading exactly? Also known as "ombré", shading is a technique done using a special tool to add depth and definition to the brows for a more natural look. This is done by adding a ‘wash of colour’ behind the microbladed strokes.
When it comes to shading, your creation really depends on the look that your client is going for, as well as how much or how little existing hair the client has. Do they wear a lot of makeup? Are they missing a lot of their natural eyebrows? If the answer is “yes” to either question, microblading AND shading may be the right solution for your client.
In some cases, your client will want a more bold and dense look to their brows, especially if they have coarse, dark eyebrow hairs. Your approach should be based on her makeup style but mainly it will come from what you, as an artist, envision for her. Because frankly speaking, most women don’t know what they want/need and will be relying on our expert opinion.

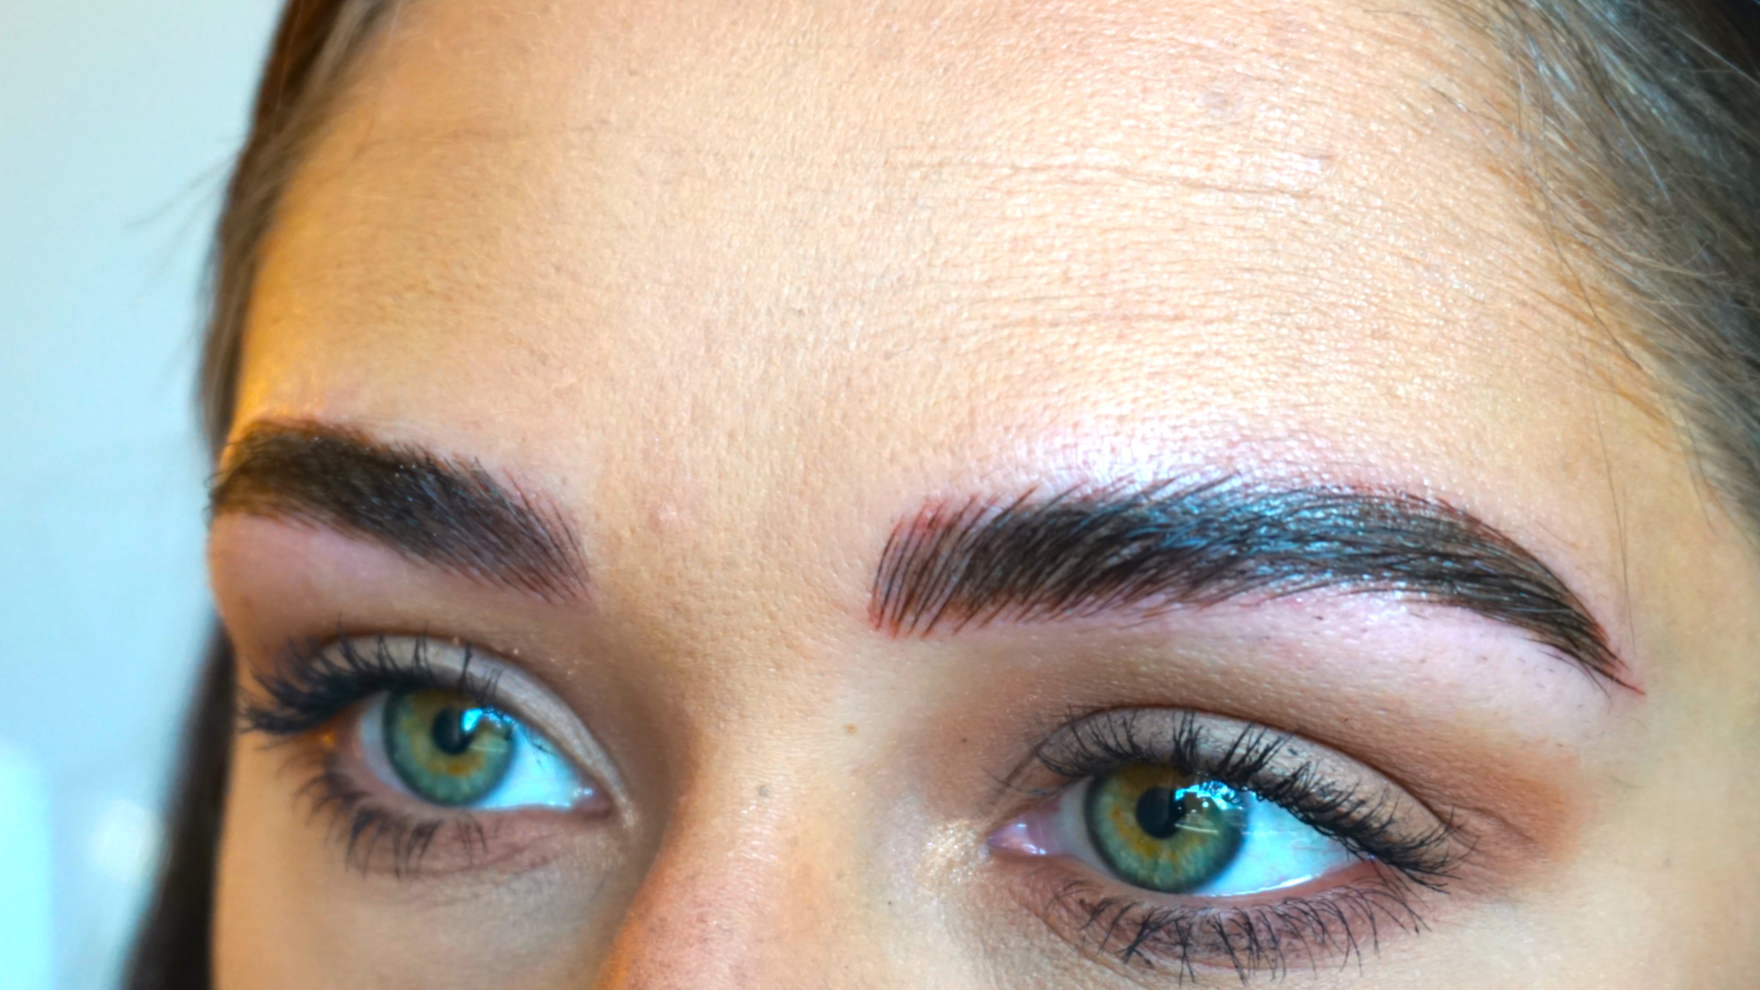
The bold and striking look of the brows above cannot be achieved with just microblading alone. As you know, microblading usually yields very soft results that are ultra natural, undetectable and more “air-y." Also, in some cases your client may only have a small patch of dark coarse hair on their existing brows that could end up looking unnatural if you do microblading only. So what options do you have?
ENTER SHADING.
Shading the brow will add density and more of a defined look. You can be creative in the way you achieve your desired look, and really bring your artistic talent to light. You’re only limited by your imagination!
A good approach to adding more definition to the brow is to add shading throughout the middle and inner sections of the brow, avoiding the tail and front of brows. You can see an example of this particular technique in the photo below.

Microblading only Microblading & Shading
The photo above is an example of a client who had no existing eyebrows. The picture on the left shows her brows done with microblading only. This creates brows with a very textured and wispy look.
The picture on the right shows her brows done with the microblading and shading technique. This creates beautiful brows with an extra layer of depth and definition.
This is Tina’s Signature Blade & Shade Technique.
The Blade & Shade technique is ideal when you come across clients that:
- Prefer medium to bolder brows and like to fill in their eyebrows on a daily basis
- Have little to no existing eyebrows
- Have dark coarse hairs in their brow area

Tina using the 19 Shader Microblade
Now that we understand what shading is, and how it can enhance your clients results. You may be asking, what tool do I use to shade, and how do I use it?
Meet the 19 Shader Microblade, this microblade has an angled needle, shaped in a round formation to be used in a flicking or stippling movement, unlike the microblading motion of dragging along the skin. However, the technique is the same as other microblades in the sense that it must still penetrate into the dermis in order for the skin to retain the pigment.
Pro Tip: Dilute your pigment for shading by 50-80% with shading solution. This will create a soft, shadow effect. It is very important to hold the skin firmly and wiping to check your deposit along the way. Remember, you can always build up your shading as you go along, so work conservatively and avoid depositing too much colour along the eyebrow edges. Learn more about shading in Tina’s Blade & Shade Online Course here.
Watch Tina's Shading Technique Below:
A question we get frequently is, “Can both ‘Microblade and Shading’ be done in one session?”
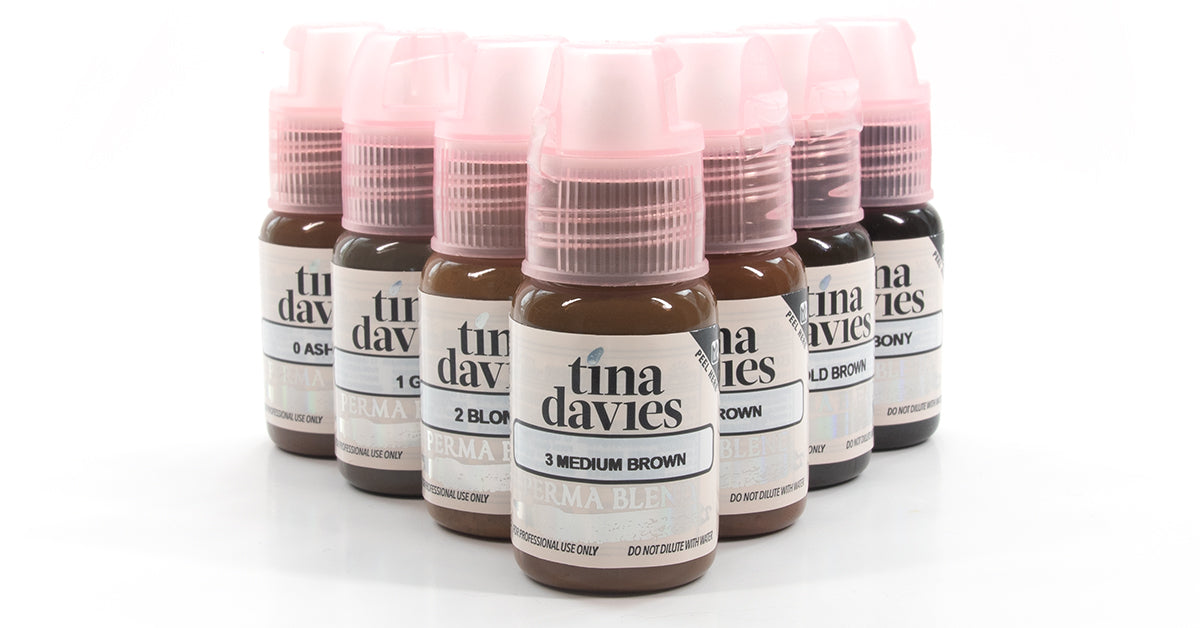
YES, ABSOLUTELY! Not only can this be done together, the best part? You can get results with 90% retention in just ONE session when using the Tina Davies x Permablend I❤️INK Pigments.
Ready to learn Tina’s Signature Blade & Shade Technique? Enroll in the Tina Davies Blade & Shade Online Course where Tina demonstrates her signature Blade & Shade technique which gives clients both the realism of fluffy, natural hair strokes and extra definition by adding shading.
Learn how to work cleaner with more efficiency and understand the technical expertise involved in proper depth, angle, pressure, and the elusive three-point stretch. Tina will explain her aftercare instructions and you will even get to see the client's healing process and results. PLUS you will have access to great videos such as Tina answering FAQs, how to safely dispose of needles, pigment preparation and more! See a variety of healed results along with challenging quizzes, assignments and downloadable cheat sheets throughout the course to boost your learning. If you are ready to boost your knowledge and learn this gorgeous Blade & Shade technique, click here.


Leave a comment
This site is protected by hCaptcha and the hCaptcha Privacy Policy and Terms of Service apply.