Good to Great: Cartridge Tips That You Need To Know Right Now
You know the drill: you spend hours qualifying your client, designing, tattooing and meticulously going over aftercare instructions. BUT, once the skin heals, you're still seeing mediocre results.
Are you feeling stuck and losing confidence in your results? Not sure what you're doing wrong or where to improve? I'll be sharing my top insider needle cartridge tips to help you go from "Good to Great" and get you moving toward better, consistent results.
1. CONSTANTLY CLEAN YOUR TIPS
Pigment, blood and fluids will accumulate at the tip of the cartridge throughout the procedure. This will block your line of sight and may result in pigment pooling at the point of skin contact. Clogged and messy needle tips will cause you struggles, frustrations and extended time to complete a procedure. One of the most important habits you must adopt is to CLEAN YOUR NEEDLE TIPS.
Constantly clean and wipe the tip opening to remove buildup and excess pigment. To prevent a needle stick injury, stretch the gauze between your fingers with your needles HORIZONTAL to the gauze in a wiping movement, not VERTICAL into the gauze in a puncturing movement.
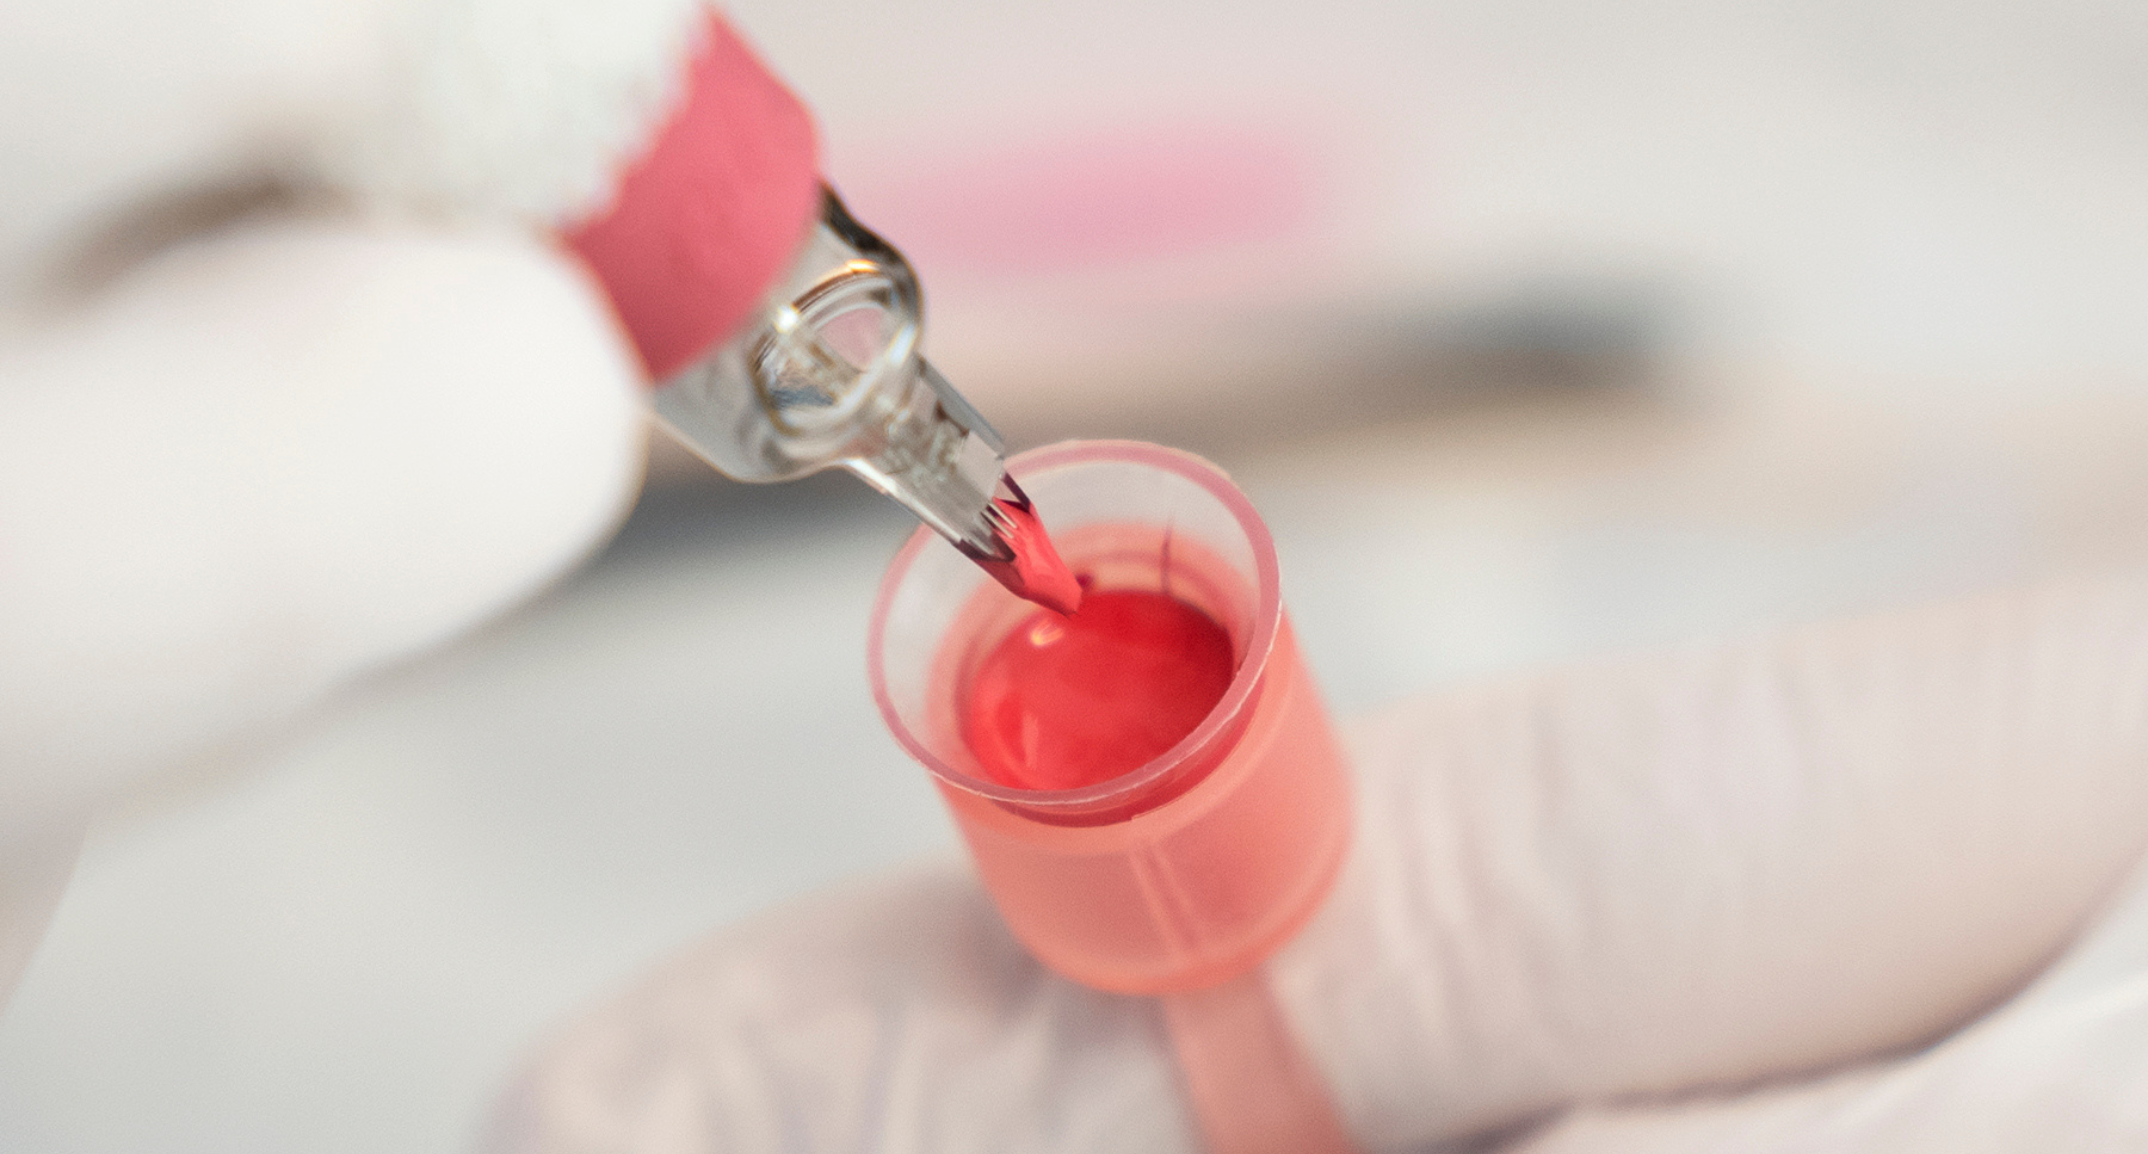
Rinse the tip of your cartridge with water in a small rinse cup to unclog and clean the needle tube (plastic part). With the needle running, dip into water and drag the needle along a paper towel to “empty out” the buildup inside the cartridge. After rinsing, you can also re-dip your needles back into the pigment to get full-strength pigment.
2. KEEP YOUR INK CAPS FULL
Don't be shy and fill it up, baby! Keep your ink caps full and brimming so you don’t have to “dig deep for pigment” as you re-dip through the procedure. I like to keep 2 ink caps at 60% full on my station so I don’t need to de-glove and refill.
3. PREVENT NEEDLE DAMAGE
Never let your needle tip hit the bottom of the pigment cap. This can happen if your pigment cap is low on pigment or if you’re not accurate while dipping. The needle will be damaged when hitting the cap and will result in a barb, poor results or even damaged skin. When it happens during your procedure, you must stop, de-glove, and replace your needle. Do not continue to tattoo.
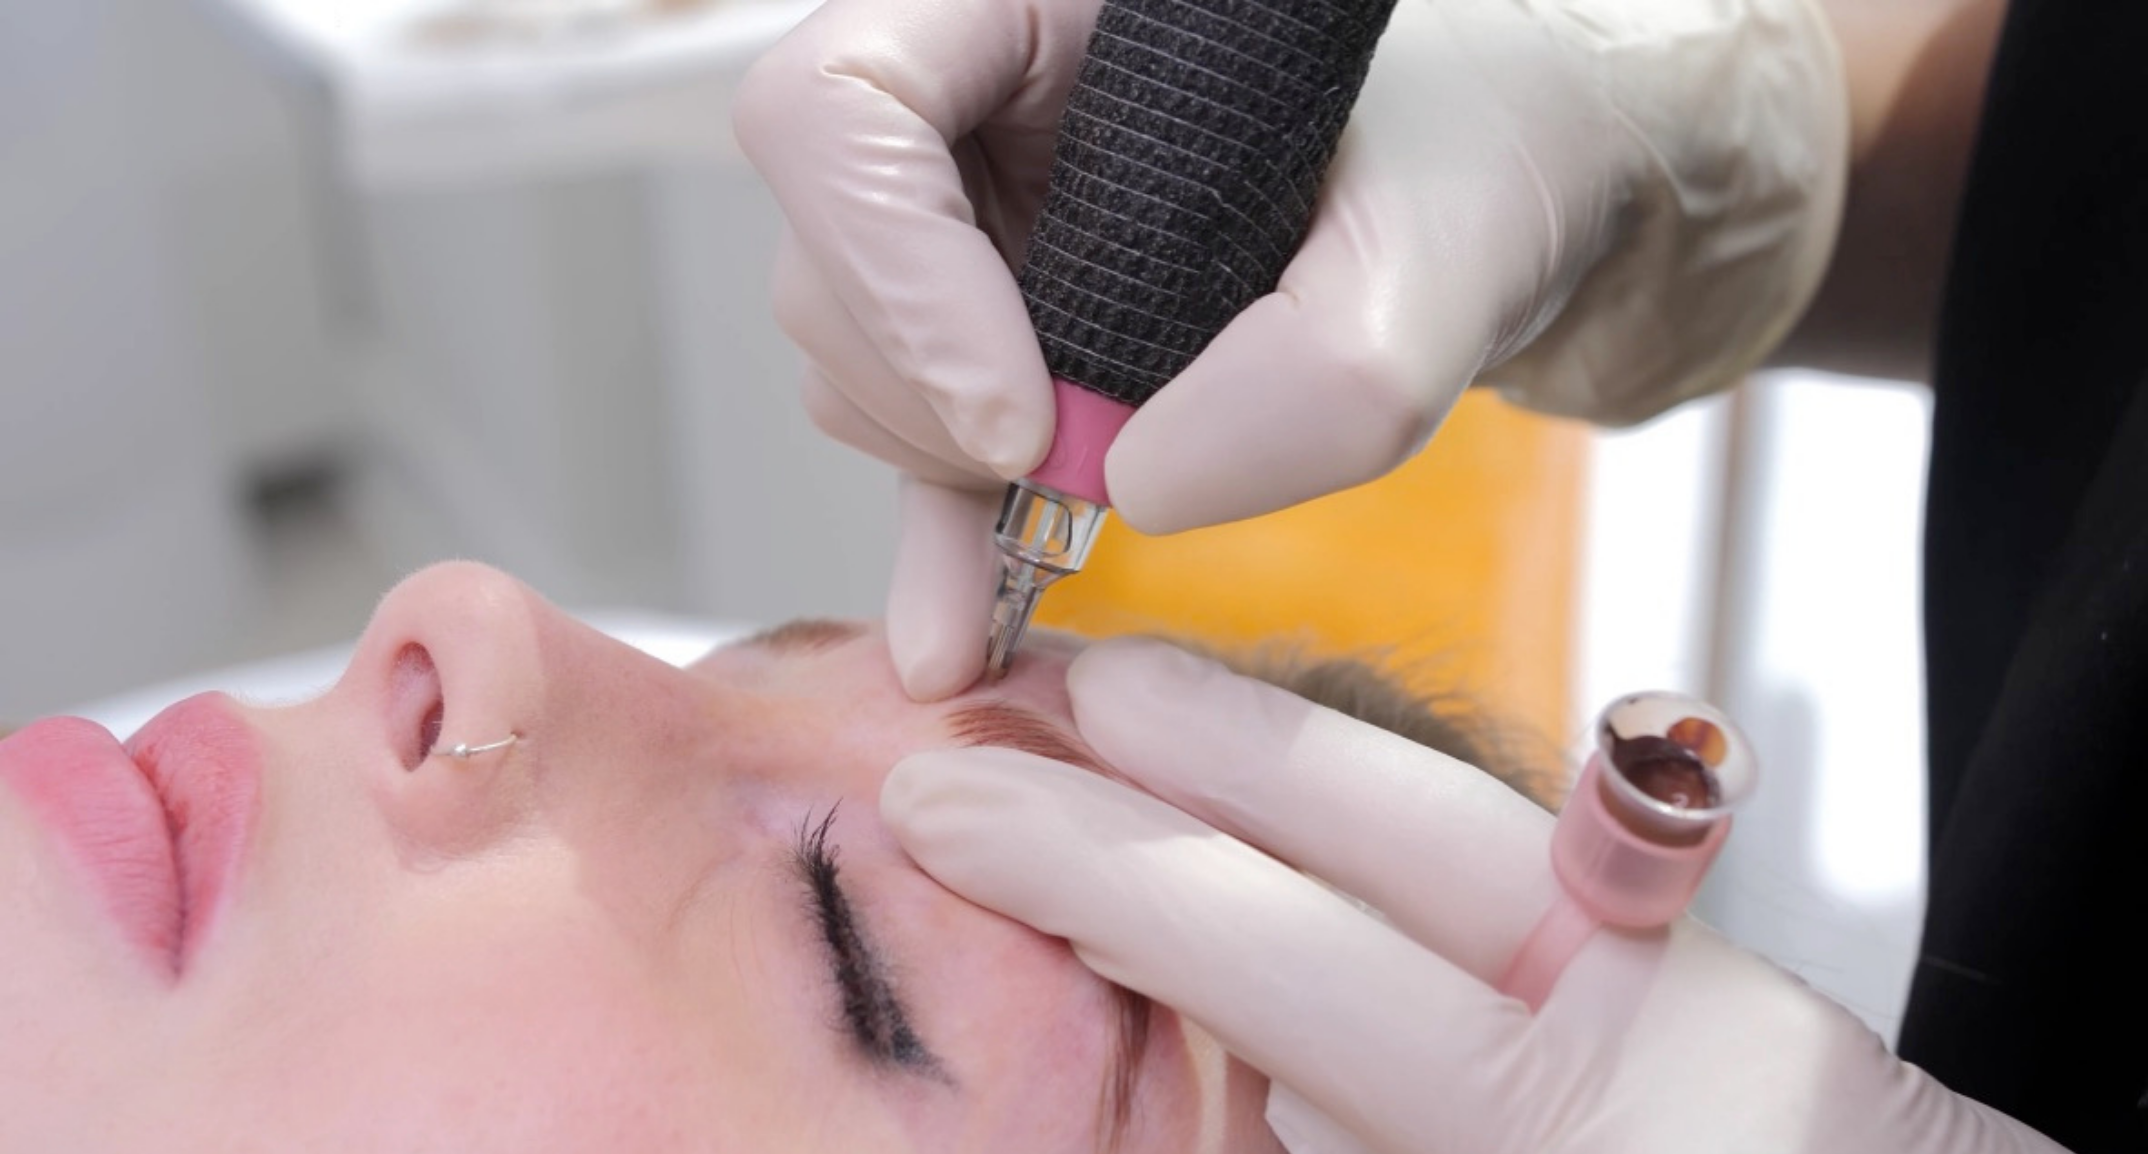
4. SET THE PROPER NEEDLE HANG
Have problems getting good ink flow? Working in a puddle?
Lack of pigment flow can happen when your needle hang (the length of protrusion) is too long (above 2.5mm). Pooling can also happen if your needle hang is too short (less than 2mm) when the tip makes contact with the skin and drops a big puddle.
Set your needle hang at 2-2.5mm to prevent this – leaving the ability for pigment flow and precision.
Hint: 2mm - 2.5mm is approximately the width of a dime or nickel.
5. TROUBLESHOOTING PIGMENT FLOW PROBLEMS
Is your pigment pooling when you hit the skin? Are you struggling with messy pigment deposit? This is one of the most common problems that people have – let's highlight what's going wrong here.
- Your needle hang (the length of protrusion of the needle from the plastic tip) is too short (~1mm)
- Your needle tip isn't clean and full of buildup – lacking a clear light of sight
- You're working at an angle - the tip is touching the skin at the same time the needle touches the skin
- Your pigment is too watery and thin
To prevent this, you need to focus on the following:
- Set your needle hang between 2mm - 2.5mm
- Work off the tips of your needles
- Keep your tips clean so you have a CLEAR view of the tip
If you don’t have a rotary machine, you may not be able to adjust the needle hang. Note that 2mm - 2.5mm is approximately the width of a dime or nickel.
6. LOUPE YOUR NEEDLES
Start off on the right foot by checking your needles with a jeweler’s loop for damages such as hooks or barbs. This will ensure that you’re tattooing with a flawless needle. Seeing barbs or hooks? Throw it out and put in a new one.
7. USE GLIDE
Excessive friction of the needle in the skin can not only cause excess trauma to the skin but pain as well. To ease implantation and reduce friction, use a tiny amount of skin lubricant such as Hustle Butter or Vitamin A + D on the skin as you tattoo.
You can place it on the back of your nitrile glove for easy access – dabbing a little bit on the area at a time with your finger. This lubricant also helps to remove pigment during wiping.
8. LET THERE BE LIGHT
Act like a dentist or surgeon by wearing a LED headlamp for high-power, directed light. A Glamcor or overhead light is only half the light equation. The better you can see, the more accurate you will be as you'll be able to see each pore, each hair, and the EXACT point where your needle tip hits the skin without compromise. If you can't see this clearly now, you need to add a headlamp to your cart!
I hope you've gathered some helpful, essential tips to help you advance your PMU journey!


Leave a comment
This site is protected by hCaptcha and the hCaptcha Privacy Policy and Terms of Service apply.